Working with a Unilock Authorized Contractor is working with the best of the best. Our UACs possess the knowledge and expertise to bring your dream project to life, and deliver stunning results that will exceed your expectations.
How to Build a DIY Paver Planter Box for Your Outdoor Space
If you’re looking for a functional and stylish way to grow plants, vegetables, or house flowers, a paver planter box can be a versatile addition to your outdoor space. These elevated structures, typically built using pavers or wall blocks, along with materials like wood or metal, are designed to hold soil and plants. Whether you’re a DIY homeowner or a new contractor, building a paver planter box is a straightforward project that can enhance any landscape. In this article, we’ll explore the benefits of building paver planter boxes and guide you through the steps to build your own.
What’s the Difference Between a Paver Planter Box and Garden Walls?
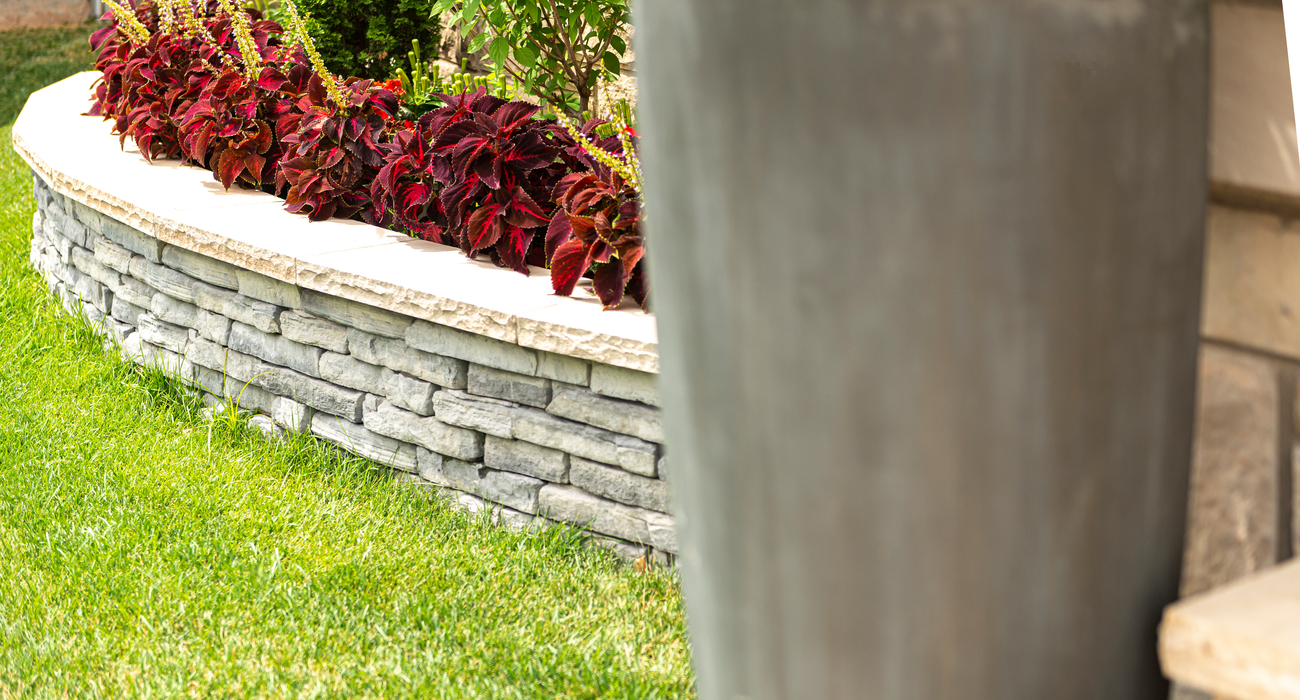
A common question we often encounter is the difference between paver planter boxes and garden walls. While both serve functional purposes in your landscape, their designs and roles differ. Garden walls are raised structures typically used to create usable space, address sloping, or define boundaries in your yard. In contrast, a paver planter box is specifically designed to hold soil and plants, making it ideal for adding height and visual interest. Planter boxes generally require less excavation and labor compared to garden walls, and they work well along pathways, within garden beds, or around the perimeter of your home.
What Are the Benefits of Paver Planter Boxes?
Paver planter boxes are a versatile solution for cultivating plants in both large and small outdoor spaces. Here are some key benefits:
Maximize Limited Space: Ideal for small areas like balconies, patios, and front porches, paver planter boxes turn underutilized spaces into productive greenhouses.
Reduce Grocery Bills: Enjoy fresh produce right from your backyard by growing fruits, vegetables, and herbs, all while saving money on groceries.
Minimal Maintenance: Easier to care for than traditional gardens, planter boxes simplify tasks like weeding, pruning, and harvesting, making gardening accessible for everyone.
Encourage Sustainable Living: Cultivating your food reduces reliance on transported produce, and using recycled materials for your planter boxes supports eco-friendly practices.
Improve Connection to Nature: Designed to enhance green spaces, planter boxes promote biodiversity and can improve air quality, helping you feel more connected to nature.
Child-Friendly: They serve as valuable teaching tools for children because they can help educate them about agriculture, sustainability, and the environment, fostering a lifelong appreciation for nature.
How to Build a DIY Paver Planter Box
1. Gather Tools and Materials
Collect the necessary materials and tools you will need to build your planter box. These will include:
- Shovel: A tool with a broad flat blade used to dig or lift loose materials such as soil, sand, or gravel.
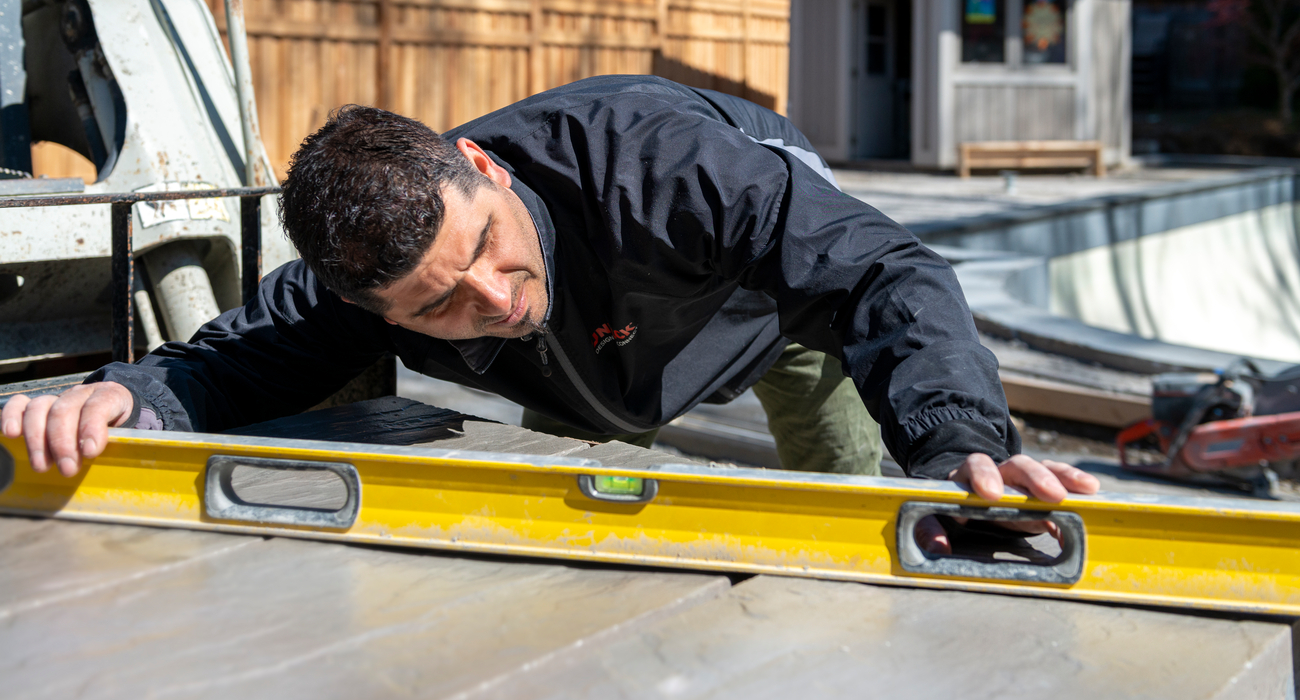
- Level: A tool used to ensure a surface is even and flat, critical for accurate alignment when constructing your planter box.
- Rake: A tool with a toothed bar used to distribute loose aggregate materials.
- Gravel: A loose aggregate or rock fragments.
- Plate Compactor or Hand Tamper: Both tools are used to compact soil, gravel, or asphalt.
- Perforated Drainage Pipe: A pipe with small holes that allows water to drain through it, helping prevent water buildup in the planter box.
- Unilock Wall Blocks: Durable, high-quality wall blocks used to build the walls of the planter box.
- Landscape Fabric: A permeable material placed beneath soil or gravel to prevent weeds from growing while allowing water to pass through for proper drainage.
- Soil: A mix of organic materials and minerals that provides nutrients for plants to grow.
- Concrete Adhesive: A strong bonding agent used to secure wall blocks together for added stability.
- Plants: This can include flowers, herbs, or shrubs, that will be placed inside the planter box to grow and thrive.
Many of these tools can be purchased or rented from your local hardware store or local landscape Dealer.
2. Prepare the Area
Select the location where you wish to build your paver planter box and mark the perimeter using grade stakes, a string line, or a laser level. If you are building an in-ground planter box, you will need to excavate the soil and compact it to create a stable base to lay your base material. The depth of your excavation must match the height of a single block, plus 6” for a gravel base.
For example, if you are using 6” high blocks, you will need to excavate a minimum of 12”, and 2 times the depth of the wall unit-wide.
3. Lay Landscape Fabric, Install Drainage, and Fill Gravel
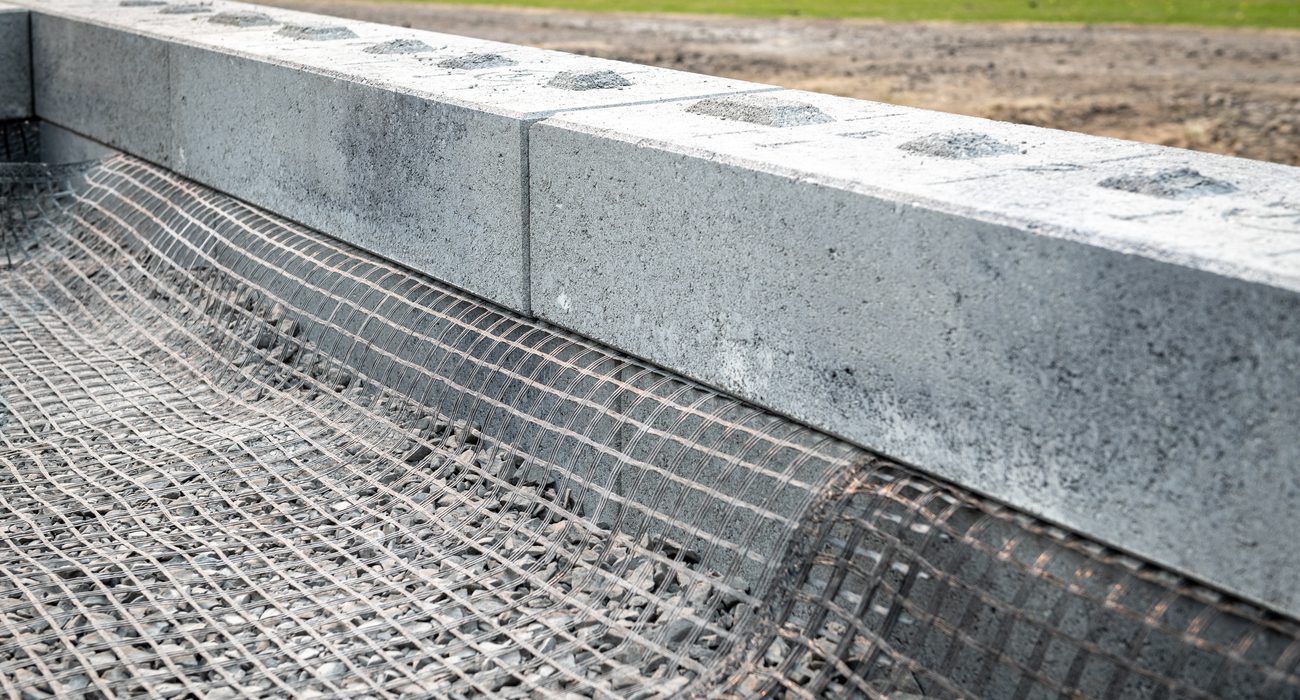
Line the excavated surface with landscape fabric along the compacted subsoil. Insert your perforated drainage pipe along the back part of the planter box, allowing the pipe to exit to a drain or lower grade at the end of the wall. Fill your planter box with 6” of 3/4” open-graded gravel (ASTM No. 57), a permeable base that can aid in drainage, which is crucial for the longevity of your paver planter box. Compact your gravel base using a vibratory plate compactor or hand tamper.
4. Build the Planter Box with Unilock Wall Blocks
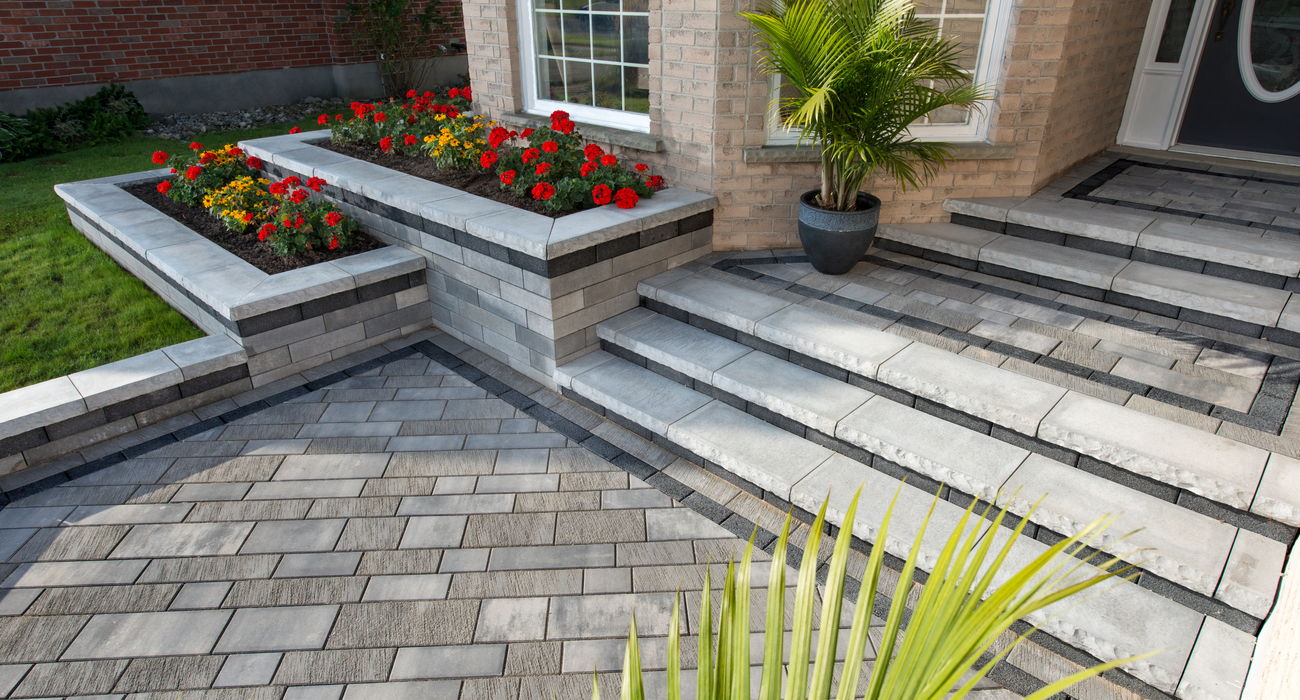
Before laying the first course of blocks, install a Universal or U-Grip Base Pad to ensure a solid foundation for your planter box. Once the leveling pad is in place, begin installing your first course of blocks. Use a string line or laser level to keep the wall straight as you work.
If you’re using wall blocks without a tongue-and-groove system, apply concrete adhesive between each course for added stability. As you install additional layers, offset each layer by ½ the width of the block to create a brickwork pattern that enhances interlocking strength and structural integrity. Continue laying wall blocks around the perimeter of your planter box, following your planned design, until the desired height and shape are achieved.
5. Fill and Plant
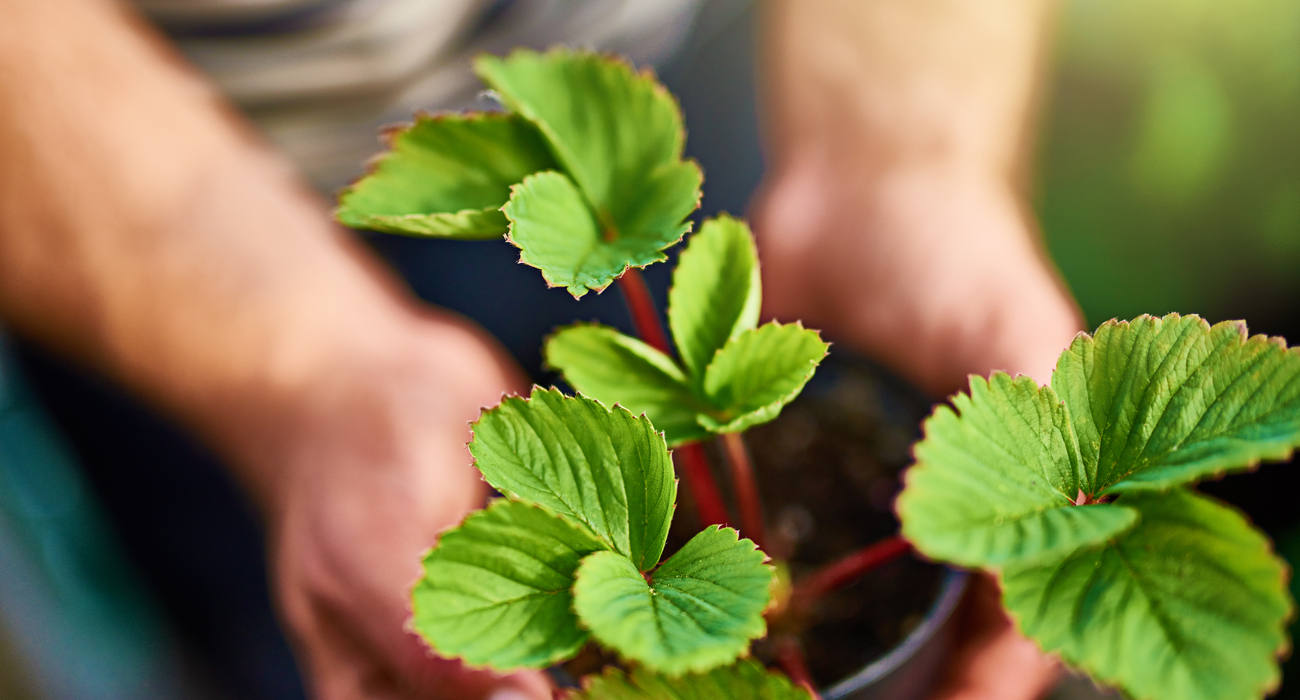
Now that your planter box is built, it’s time to fill it with the right soil. Ensure the interior walls of your planter box are lined with filter fabric. This barrier will prevent soil from seeping between the wall blocks, helping to maintain the integrity of the structure and drainage efficiency. Choose plants, flowers, or even vegetables that suit your local climate and the look you’re going for. Be sure to leave enough space between each plant so they have room to grow.
Bringing Your DIY Planter Box to Life
Building a paver planter box is a rewarding DIY project that can make a big difference in your outdoor space. If you’re looking to dive in to your next DIY project, check out our DIY Paver Patio and Retaining Wall Guide, which contains helpful tools, guides, and other resources for your projects. If you’re looking for inspiration and want to get a sense of how our products look in-person, our Outdoor Idea Center is a great place to start. There, you can talk to our knowledgeable team, get your questions answered, and even pick up some free samples of Unilock products to try at home. You can also visit our “Where to Buy” page to find local dealers who stock the materials and tools you’ll need for your project.
If you’d prefer to leave the heavy lifting to the pros, we can help with that too. Our Unilock Authorized Contractors are skilled in everything from site prep to installation, ensuring your planter box is built to last. Just head to our Find a Contractor page, and we’ll match you with a trusted contractor in your area.
Related
Articles

We’re Here
To Help
Browse our Design Idea Catalog
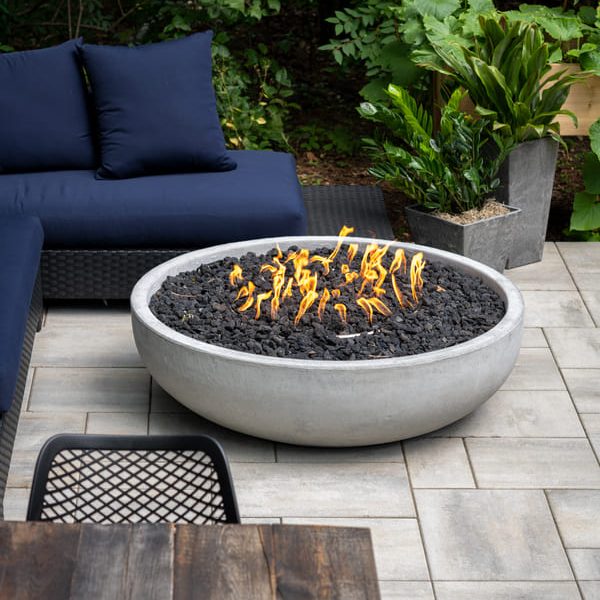
Explore endless design possibilities through our Design Idea Catalog. Browse our extensive portfolio of paver and wall products, and get inspired by our outstanding design projects that will fuel your creative expression.

Visit an Outdoor Idea Center
Experience the beauty and quality of Unilock paver and wall products in a life-sized setting by visiting a local Outdoor Idea Center. Our knowledgeable and friendly staff are on hand to answer any questions and offer free product samples.
