You can return any time by using the sub-menu at the top of your screen.
Share this

How to Build a Raised Patio in 7 Steps
Whether you’re looking to reimagine your backyard space or elevate your outdoor living experience for family barbecues and events, a raised patio might just be the solution. We’ll explain how a raised patio differs from a ground-level patio, and cover how to build a raised concrete patio with a retaining wall in seven steps.
Plus, we’ll point you in the direction of the highest-quality pavers from Unilock — North America’s leading hardscape manufacturer.
Explore patio pavers at Unilock
What is a Raised Patio?
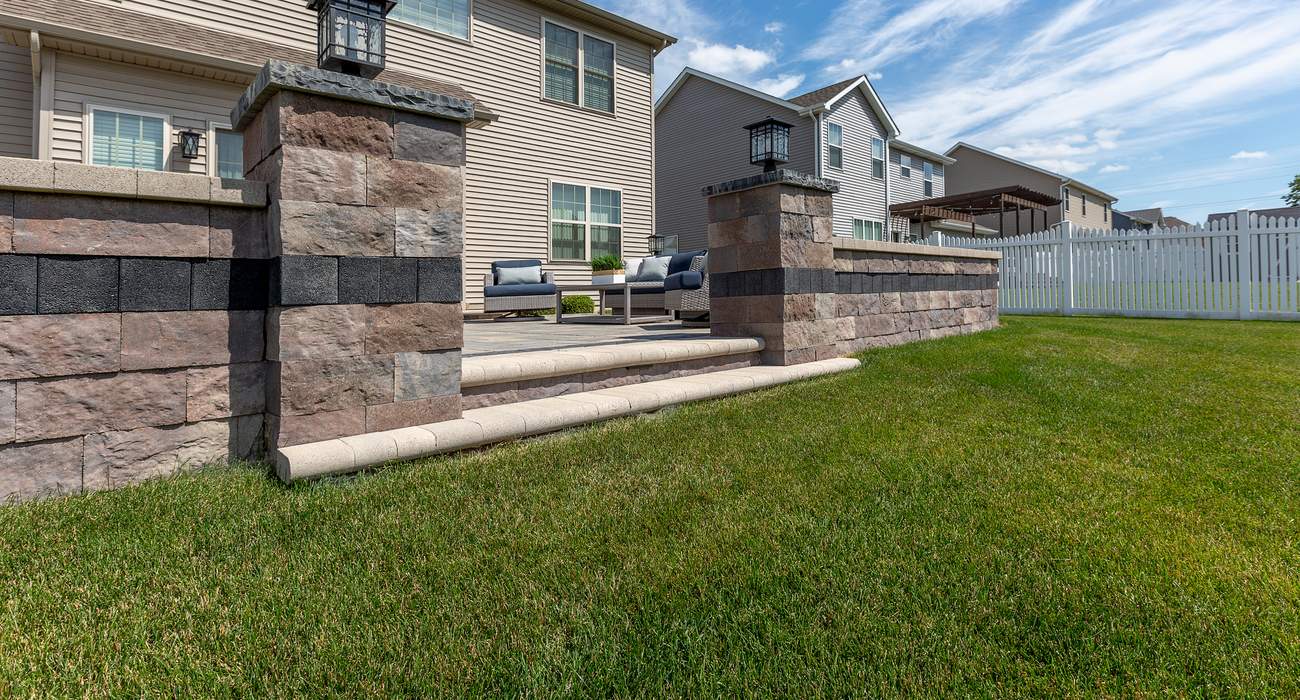
A raised patio, whether it’s designed as a cozy roof deck or created by placing a stone patio on an existing wooden deck, sits above ground level. It’s often supported by a solid structure like a retaining wall. If the elevation exceeds 24”, your patio may require a railing around the perimeter. Always check with local building codes before building.
Additionally, if the wall is a structural wall or over 36” high, you will need to hire a qualified civil engineer to ensure the proper engineering of your wall, adhering to the engineer’s guidelines.
Raised Patio vs. Ground-Level Patio
While a raised patio is supported by a solid structure, such as a retaining wall, a ground-level patio is built at ground level without the support of a retaining wall.
Raised Patio vs. Sunken Patio
A raised patio, built above ground level, offers a distinct atmosphere and scenic views. However, if your backyard boasts a rising slope, a sunken patio may be constructed to hold back the earth, providing a patio surface that’s cozy and private, compared to its raised counterpart.
Key Benefits of a Raised Patio
Deciding between a raised patio and a ground-level patio? The decision is based on the grade of the property.
However, a raised patio offers key benefits when compared to a ground-level patio:
- Allows for installation despite uneven surfaces: A raised patio is a great option when addressing sloped backyards. Supported by a robust structure like a retaining wall, it provides a stable, level surface, eliminating the need for steps in your design.
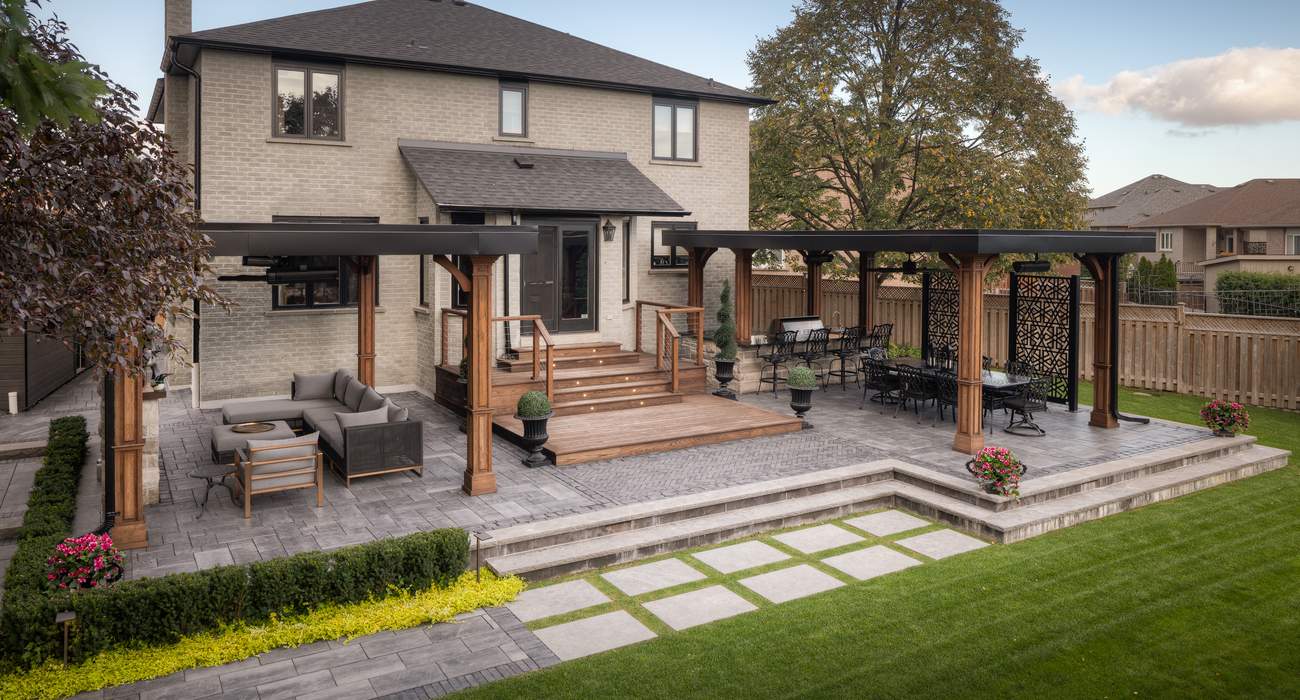
- Elevate and extend your living space: Beyond offering an improved view of the surrounding landscape, a raised patio becomes an inviting haven for relaxation, entertainment, and dining with family and friends.
- Accessibility: Ideal for individuals with mobility challenges, such as older adults or young children, a raised patio offers easy access without the need for stairs, creating a more inclusive outdoor space.
- Increases curb appeal: Elevating both the look and functionality of your outdoor living space, a raised patio contributes to an enhanced curb appeal for your home.
Tools You’ll Need to Build a Raised Concrete Patio
To build a raised concrete patio with pavers, you’ll need a wide range of tools and materials.
Here’s a list of must-haves for your project:
- Open-reel measuring tape to calculate the dimensions of the patio and ensure accurate placement of materials
- Stakes and a string to mark the perimeter of the patio area
- Carpenter’s square to ensure the layout is level and square
- Shovel to excavate the area for the patio base and retaining wall
- Wheelbarrow to transport materials such as gravel, sand, and retaining wall blocks
- Level to ensure the base, retaining wall, and concrete pavers are level during installation
- Vibratory plate compactor or hand tamper to compact the aggregates and set the pavers
- Landscape fabric to prevent weed growth underneath the patio
- Chalk line to create straight lines when laying pavers
- Circular saw with a diamond blade to cut concrete pavers and retaining wall blocks as needed for a custom fit
- Polymeric sand to fill joints between pavers
- Hard-bristle broom to sweep polymeric sand into the gaps between pavers and clean the area during construction
- Utility knife to cut landscape fabric or geogrid material as needed
- Safety gear (P.P.E.) like gloves, a hard hat, safety glasses, and a respirator to protect your body when using power tools and cutting concrete pavers and retaining blocks
How to Build a Raised Concrete Patio With a Retaining Wall
Ready to build your dream patio? Here’s a step-by-step guide to building a raised concrete patio with a retaining wall:
1. Choosing your Patio Paver Products
The first step in your installation is choosing which paver product will be best suited to your outdoor space. We recommend choosing a paver product that complements the architectural style of your home. For instance, if you have a modern raised bungalow with black and grey tones, opt for a paver with a smooth texture and a mix of black, white, or grey colors. This simple choice ensures a seamless blend between your pavers and home style.
2. Plan & Design
Next, sketch out your raised concrete patio on a piece of graph paper to determine the size, shape, and location of the patio. At this stage, you should determine the height, depth, and base of the retaining wall.
If you’re building a retaining wall that’s over 3 feet tall, check with your local municipality as you may need to obtain a building permit. In addition, consider hiring an expert (like a structural engineer) to ensure proper railings are in place.
3. Mark the Area
Mark the patio area using a string line and grade stakes. Make sure that the layout is square and level by using a carpenter’s square.
If you plan on building a curved patio, use a thick rope or garden hose to mark the area and outline it with bright orange spray paint.
4. Excavate the Area
Dig a trench along the area where the retaining wall will be built and ensure the excavated area is level.
You’ll need to dig a trench approximately 24” deep to accommodate your gravel base, along with the first layer of blocks.
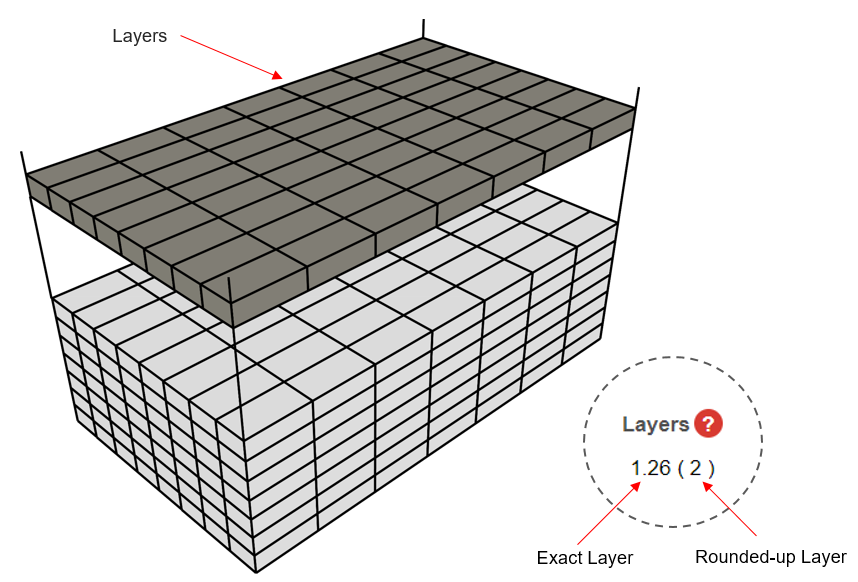
5. Prepare the Base
Next, add 2-3 inches of gravel or crushed stone as the base. Compact it using a vibratory plate compactor or hand tamper to ensure proper drainage for your wall. Follow this up by adding another 3 to 6 inches of gravel, and ensure proper leveling and compaction are done.
6. Install the Retaining Wall
Start laying the first level of retaining wall blocks at the base.
Ensure that the correct side of the block is facing you. Begin at the center of the wall and work your way out to the sides, using a rubber mallet to tap the blocks into place.
Continue to stack the additional levels of retaining wall blocks. To create a pattern similar to brickwork, each row should be offset by half the length of the block.
Follow the manufacturer’s instructions for adding any necessary reinforcement, such as geogrid or pins, to secure the blocks.
If your retaining wall blocks are built with tongue and groove systems, they don’t need adhesive for them to connect.
Unilock tip: For a more complete guide on how to build a retaining wall, check out our blog on how to build an interlocking concrete block retaining wall.
7. Install the Pavers
Before you can install the pavers, you must backfill the retaining wall you have just constructed with ¾” clear stone gravel in 6” layers, compacting each layer with a hand tamper or compactor. Once complete, you can screed the sand or stone chip bedding course over the gravel base. This will provide a flat surface upon which to lay the pavers.
Lay the concrete pavers, starting from one corner, and maintain a consistent pattern throughout the patio.
Cut pavers as needed in order to finish the raised patio, paying special attention to areas where they may not align seamlessly with the retaining wall or the edge of the home. After the necessary cuts are made, compact the pavers using a plate compactor or a special rubber roller compactor. Fill the gaps between the pavers with polymeric sand to help keep the pavers in place.
Build your raised paver patio with Unilock. Explore pavers
Explore Heavy-Duty Pavers for Your Raised Patio at Unilock
At Unilock, we provide the expertise and products you need to build the outdoor space of your dreams.
Transform your hardscaping project into a stunning outdoor oasis with our durable concrete pavers that are perfect for creating both intimate and grand patios.
Our most popular pavers for patio projects include Beacon Hill™ Smooth, Umbriano®, and Richcliff®.
In addition to concrete patio pavers, we offer heavy-duty retaining wall blocks designed to provide structural support to your raised concrete patio.
Our most popular retaining wall blocks for raised patios include U-Cara®, Lineo™, and Pisa™.
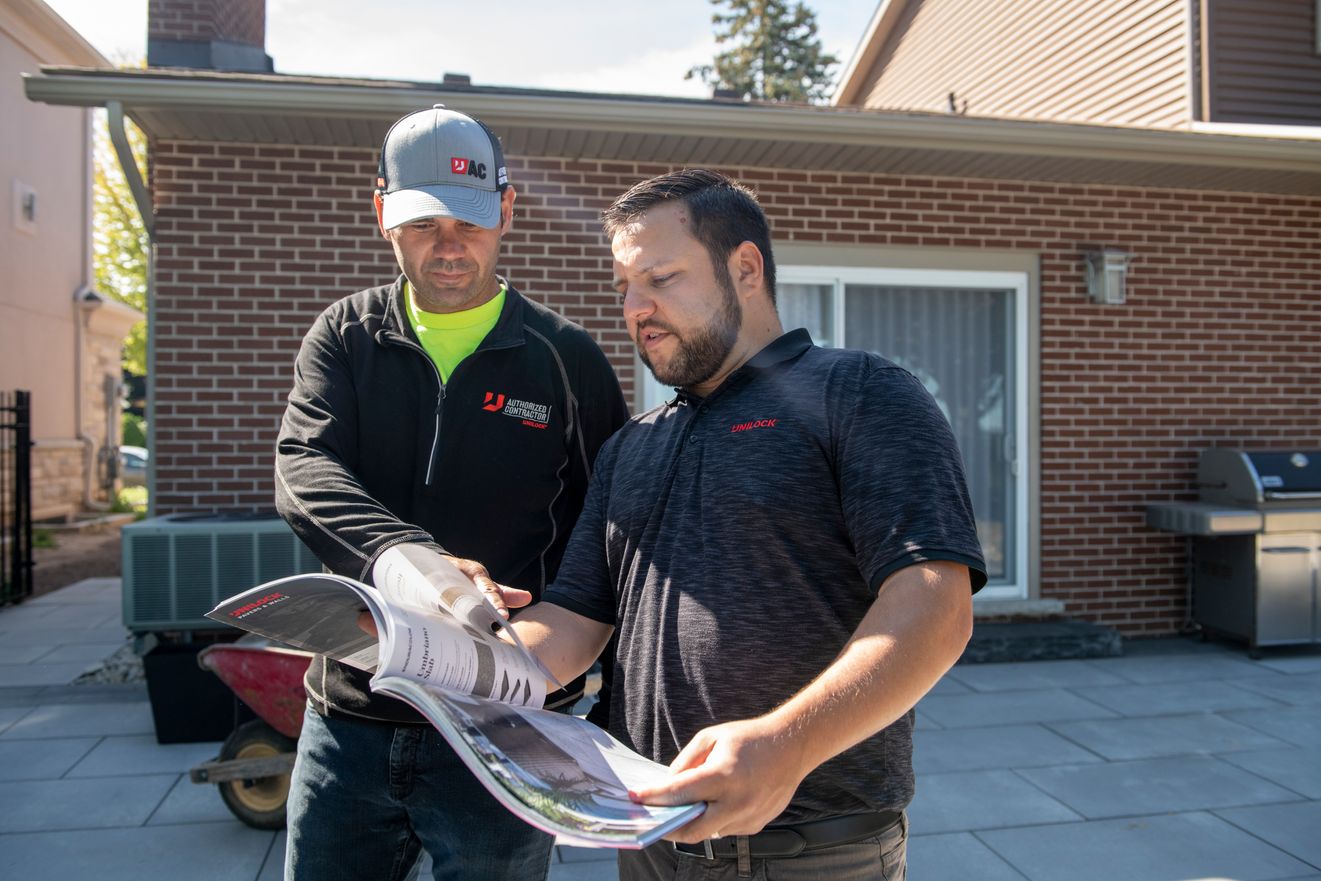
Need help building your raised paver patio? Find a Unilock Authorized Contractor
Key Takeaways on Building a Raised Patio
With the right planning and execution (and expert help if needed!), a raised concrete patio can become the stunning focal point of your outdoor oasis.
Whether you’re looking to create an intimate setting for relaxation, or a vibrant hub for social gatherings, our extensive selection of durable and striking pavers at Unilock can help ensure that your raised concrete patio stands the test of time, so you can enjoy it for years to come.
Building a raised patio requires skill and expertise. If you need assistance in getting the job done, consider hiring one of our expert Unilock Authorized Contractors, who possess the expertise needed to turn your raised patio into a reality.
Build your dream patio with Unilock. Find an Authorized Contractor
Related
Articles
We’re Here To Help
We make it easy to get inspired, plan, and start your project.

See our Catalog of Dreams
Explore ideas, spark inspiration, and see our full range of Unilock products.

Get your freeestimate today
Partner with a Unilock Authorized Contractor for best-in-class results.

Plan your dream project beautifully
Excited to start a new project? Get our Project Planning Guide and plan with ease.