
Working with a Unilock Authorized Contractor is working with the best of the best. Our UACs possess the knowledge and expertise to bring your dream project to life, and deliver stunning results that will exceed your expectations.

Share this

Paver Sealing - How To Seal Pavers
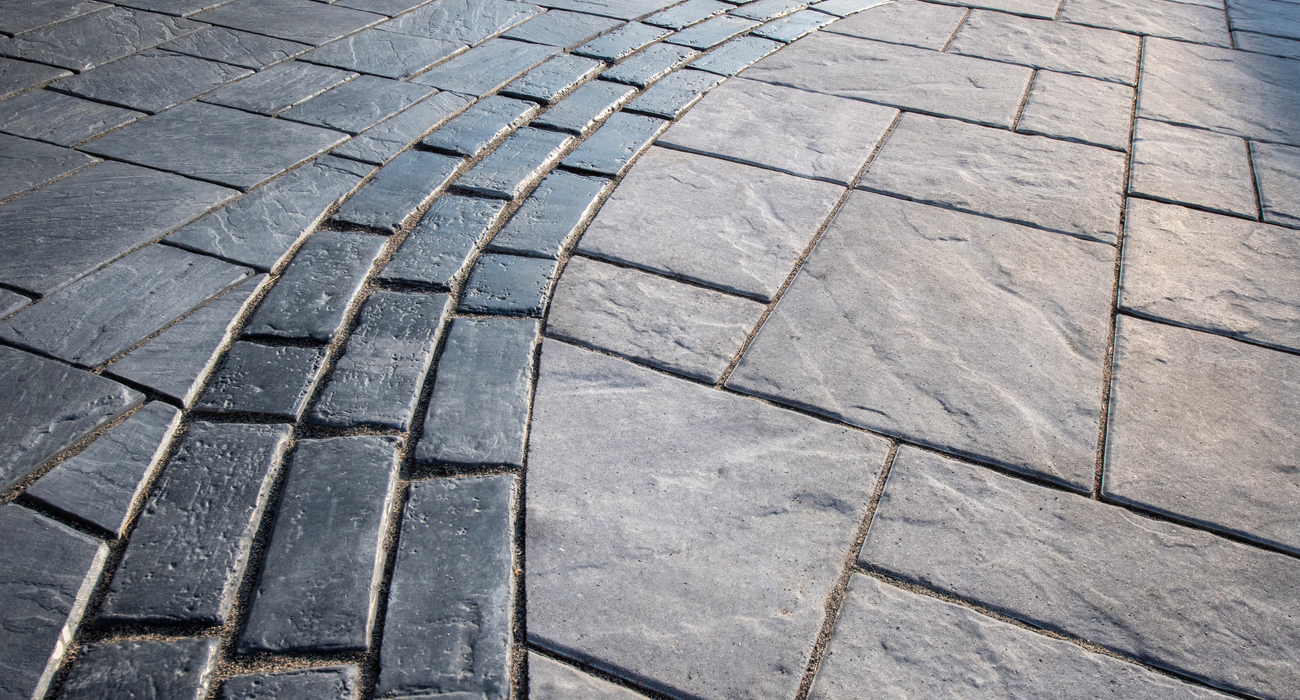
With a wide variety of colors, styles, and patterns to choose from, pavers are a great way to elevate your patio, driveway, and other outdoor spaces.
To make sure your investment lasts for years to come, it’s desirable to seal your pavers after installation with a quality sealer that’s designed to keep your pavers looking pristine for years to come.
We’ll share all you need to know about sealing pavers, including what type of sealant to use, and a step-by-step guide to follow when sealing your pavers at home.
What Is a Paver Sealer?
A paver sealer is a protective coating applied to the surface of pavers to enhance their appearance and durability. It acts as a barrier against moisture, stains, UV rays, and other environmental factors that can damage or degrade the pavers over time. Sealing pavers can help maintain their color vibrancy, prevent staining, and prolong their lifespan. It typically comes in liquid form and is applied using a sprayer, roller, or brush.
Should You Seal Your Pavers?
Sealing your pavers is less about maintenance and more about aesthetics. Unilock concrete pavers don’t require regular sealing — they are designed to provide homeowners with long-lasting, maintenance-free, beautiful surfaces for years to come. For those who decide to take this optional step, resealing is intended to be done every three to five years or so. Still, many find it worth the effort to preserve their original appearance, maintain color vibrancy, and prevent staining for years to come.
9 Tips for Paver Sealing Success
Thinking about sealing your pavers yourself? Applying sealant can be tricky, especially if you’re doing it for the first time. We recommend utilizing your Unilock Authorized Contractor, who can help apply a sealer for you once the project is completed.
However, if you’re a seasoned DIYer, here are some tips to help you when sealing pavers:
- Wait till Efflorescence is clear before sealing: Ever noticed that hazy film on your pavers? That’s efflorescence, a natural occurrence caused by naturally occurring salts in both the base materials and/or aggregates used to manufacture the stone. It does fade with time, so hold off on sealing until the efflorescence is completely gone, typically 2-3 months, or even up to a year.
- Make sure the paver surface is clean: Before sealing, ensure your pavers are spotless, and free of debris or stains, otherwise, the sealant may accentuate the stains.
- Ensure pavers are dry before applying sealant: After washing your pavers clean, give them time to completely dry. In warm, sunny climates, the pavers should be dry and ready to seal in a few hours. However, in cooler, shady spots, wait about 24 hours before sealing.
- Keep your eye on the weather: Plan ahead; you’ll need clear skies for 24-48 hours before applying the sealant. Any rain or moisture in the forecast will impact your sealed surface.
- Check the Temperature: Generally, your best bet is to aim for somewhere between 50- and 90 degrees Fahrenheit. The sweet spot is 75 degrees. If you apply a sealant to pavers that are too hot, you risk your pavers staining, and they may start to peel and age prematurely. Note that solvent-based sealants evaporate faster, so lower temperatures are better for the application.
- Use an application sprayer: An application sprayer – available at any hardware store – makes it easier to work faster and helps to ensure you’re applying an even coating.
- Saturate the pavers: Ensure your pavers are thoroughly saturated, filling in all the nooks and crannies. Once this is done, use a dry roller to soak up any excess sealant to avoid streaks and drip marks.
- Don’t Stop for Lunch: Seal your pavers in one go to ensure you don’t lose track of your progress and risk applying multiple layers over one spot.
- Allow time to cure: Once the paver sealer has been applied, allow for up to 48 hours of dry weather for the sealer to cure properly. Steer clear of stepping over or driving on your freshly sealed pavers, as this will impact the final look. If you have automatic water sprinklers nearby, be sure to keep these shut off as water can cause white marks or stains on your pavers and can even be trapped beneath the layer of sealer.
The Pros and Cons of Paver Sealing
Like any home improvement project, there are pros and cons to consider before you decide to apply a sealer to your finished paver project.
Pros:
- Added Protection: Sealing protects against water damage, stains, fading, and seasonal wear, ensuring a longer-lasting fresh look.
- Durability: Guards against freeze-thaw cycles, salt, weeds, and mildew, preserving the pavers’ attractive finish.
- Easier to Clean: Sealed surfaces are easier to maintain, requiring only soap, water, and a broom for cleaning.
- Enhancing Color: Accentuates the natural color of pavers, enhancing their vibrancy and appeal.
Cons:
- Cost: Premium sealers are more durable but come at a higher cost, while cheaper options may degrade faster.
- Maintenance: Requires reapplication every 3-5 years to maintain appearance and protection.
- Slip Hazard: High-gloss sealers may increase slipperiness, especially when wet; matte sealers are a safer alternative.
- Incompatibility: Always test the compatibility between old and new sealers before resealing; consult with a Unilock Authorized Contractor or Dealer for recommendations.
Tools You’ll Need for Paver Sealing
Here are some must-have tools you’ll need when sealing pavers:
- Paver sealer: Used to protect the surface of pavers from damage caused by exposure to weather, UV rays, stains, and general wear and tear, while enhancing color and appearance.
- A knife: To scrape out any weeds in older installations.
- Stiff broom: To remove tough stains and debris.
- Pressure washer or hose: To remove dirt, grime, mold, and other types of buildup from outdoor surfaces such as driveways, decks, and patios.
- Pump-up garden weed sprayer: Used to spray on paver sealants.
- Foam roller: This can be used instead of a sprayer to roll on the paver sealant.
Common Types of Sealants for Patio Pavers
While sealants come in a wide variety, two of the most common types of paver sealers include:
- Solvent-based sealers: Ideal for high-shine finishes and high-traffic outdoor areas, solvent-based sealers can last anywhere between four to five years if properly maintained. Solvent-based sealers can range in price from $80 to $150 per gallon. Typically, a gallon covers between 80 to 120 square feet, as these sealers are designed to penetrate deeper into the pavers, which can result in lower coverage.
- Water-based sealers: Perfect for lower-gloss, matte finishes in lower-traffic outdoor areas, water-based sealers are easy to work with thanks to a low volatile organic compounds (VOC) percentage, meaning it doesn’t have the strong chemical odor associated with solvent-based sealers. Water-based sealers can also stabilize the sand in between paver joints, and range anywhere from $80 to $150 per gallon. Generally, a gallon covers between 100 to 150 square feet, as water-based sealers tend to spread a bit more easily and can cover more area.
For the most accurate and reliable information, always refer to the specific product’s technical data sheet or contact the manufacturer directly.
Things to Consider When Sealing Different Types of Pavers
While the general principles of sealing pavers apply across different materials like concrete, brick, or interlocking pavers, there are some nuances to consider for each type:
Concrete Pavers: Concrete pavers are porous, so they can benefit from sealing to protect against staining and enhance color. When sealing concrete pavers, it’s crucial to choose a breathable sealer that allows moisture to escape and to prevent issues like efflorescence.
Brick Pavers: Like concrete, brick pavers are also porous. However, brick pavers tend to be more absorbent than concrete, so selecting the right sealer is essential. Brick pavers often require a sealer with a matte or low-gloss finish to maintain their natural appearance while protecting against staining.
Interlocking Pavers: Interlocking pavers, typically made from concrete or stone, have joints that allow for flexible design options while providing optimal drainage. When sealing interlocking pavers, it’s essential to use a sealer that can penetrate the joints to provide adequate protection from top to bottom.
How To Seal Your Pavers in 5 Steps (The Sealing Process)
1. Choose the Sealer
The first step is to determine which type of paver sealer to use. The choice comes down to two types: a water-based or solvent-based sealer.
Whenever possible, we recommend using a water-based sealer. This makes any tools or sprayers you’re using in conjunction with sealing easier to clean. This type of sealer hardens the joint sand, penetrating deeper into your pavers.
Solvent-based sealers work just as well and tend to be a little more durable, but they must be applied to perfectly dry pavers and sand joints.
NOTE: It’s important when working with sealers and other chemicals to follow the manufacturer’s instructions and take all necessary safety precautions, such as wearing gloves and a respirator mask.
2. Level any settled or shifted pavers
This step is not a requirement if you are sealing a newly installed paver surface. However, in older installations, it is a good idea to fix any dips in the surface before applying your sealer so that there will be no pooling of sealant liquids.
To level pavers:
- Make the joint sand wet using a hose or pressure washer on a low setting.
- Use a putty knife to remove as much joint sand as possible around one paver.
- Use a flathead screwdriver to loosen the first paver. Doing so will make it easier to remove the rest of the surrounding pavers.
- Clean off any existing joint material from the paver edges.
- Level the ground with some coarse sand or ¼” stone chip.
- Place the pavers in a level position.
- Compact using a hand tamper and a piece of wood.
- Sweep in new joint sand. Use polymeric sand if the rest of the installation has polymeric sand. Follow the manufacturer’s guidelines for polymeric sand installation.
- Once the joint sand has cured, Wash the entire surface clean and let dry completely.
3. Clean the Pavers
It’s important to clean the surface of your pavers before applying a sealer.
To clean your pavers:
- Utilize narrow-bladed weeding tools, such as block paving knives to remove weeds and moss. Avoid using a wire brush as it will scratch the surface and leave small metal particles which will eventually show up as rust on the surface.
- Create a mild detergent and water solution by mixing half a cup of mild detergent with a liter of water.
- Use a stiff broom, pressure washer, or hose to remove dirt, grime, and other debris that may have accumulated on your pavers.
- Use dedicated paver cleaners to remove tough stains, such as oil and grease.
- Wait for the pavers to completely dry for a minimum of 24 hours before applying the sealer.
TIP: When using a pressure washer, don’t put it on high or you can risk damaging the paver’s surface or blowing out the jointing sand. Use the fanned nozzle setting and ensure the nozzle is at a 30° angle, 12″ away from the surface. If joint sand is washed out, add in some new joint sand.
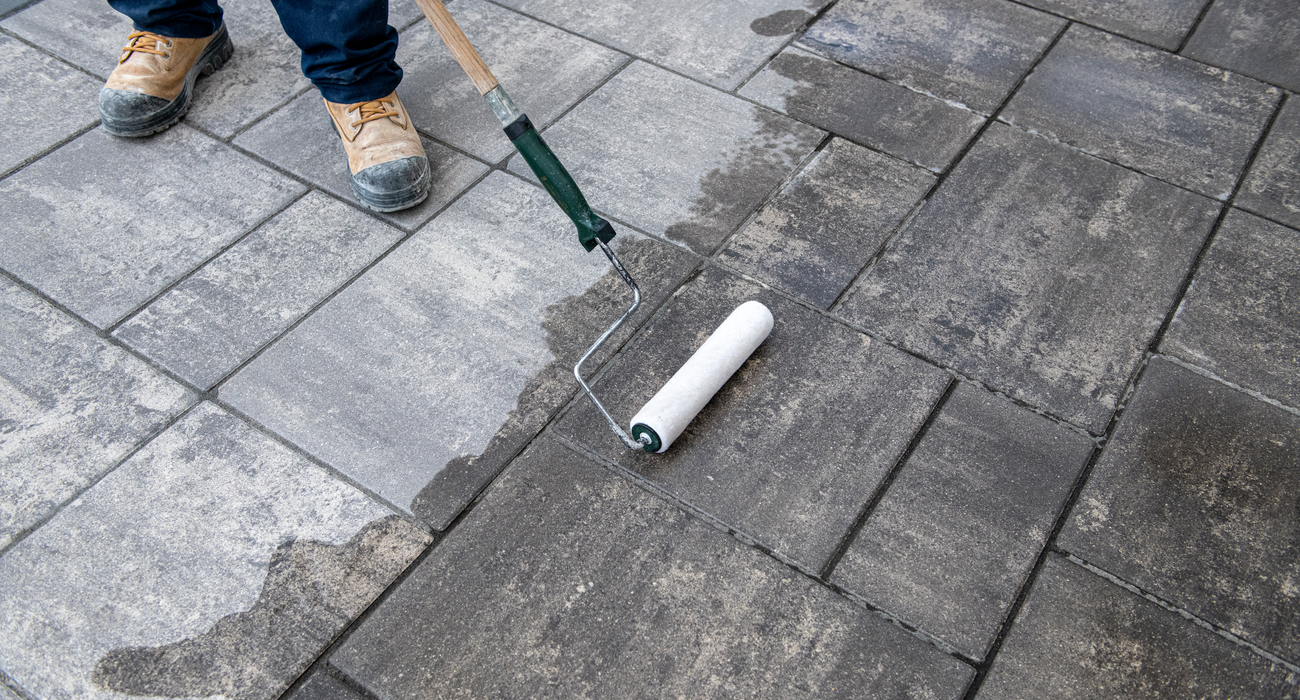
4. Apply the Sealer
Only apply a sealer when good, dry weather is expected, and always read the manufacturer’s directions before you begin sealing. You may want to test the sealer in a small area to ensure you are satisfied with the results before proceeding with the entire project.
Use a garden weed sprayer with an adjustable nozzle head, a foam roller, or a short pile roller to apply your sealer.
When using sprayers, be careful not to overspray onto adjacent surfaces as the sealer will not wash off once applied. You may want to use a flat sheet of metal along edges and structures where you do not want to overspray.
5. Leave the Paver Surface to Dry
Once you have applied the sealer to all the pavers, let the surface dry for 24 hours.
If you don’t allow your pavers to completely dry, the sealant may peel off the surface. Ensure you are following the manufacturer’s instructions.
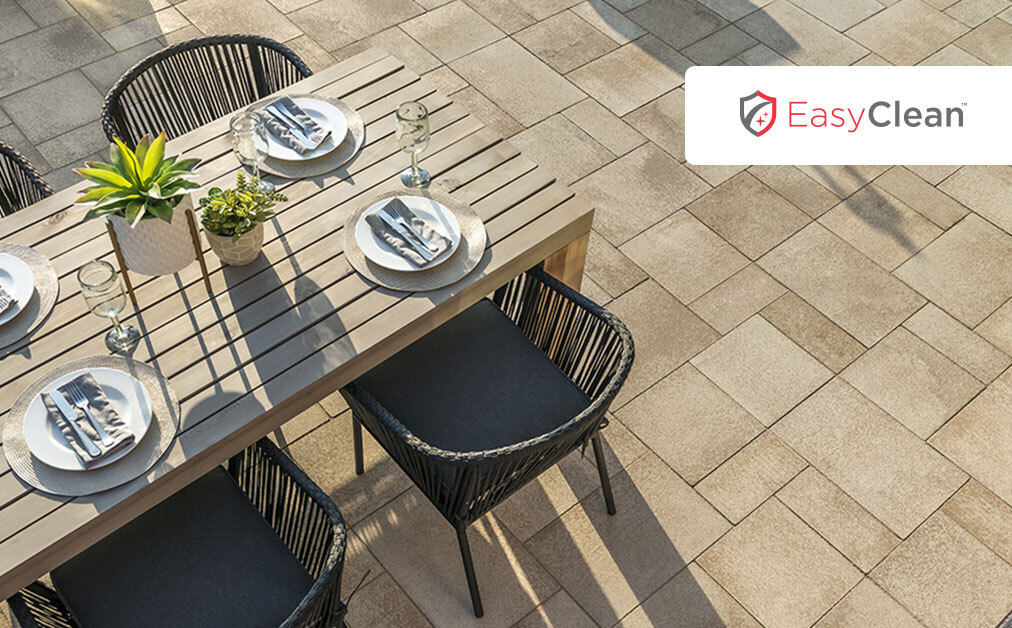
Choosing Pre-Sealed Products like EasyClean™
At Unilock, we understand that not everyone wants to seal their pavers. That’s why we offer pre-sealed options, with our EasyClean™ technology. With EasyClean, a sealer is applied at the factory level, providing integral stain resistance for faster cleanup of spills before a stain takes hold. Opting for a pre-sealed product alleviates the added time, labor, and costs associated with applying an aftermarket sealer, allowing you to enjoy your beautiful outdoor space hassle-free.
FAQs About Sealing Pavers
1. How Long Does Paver Sealer Last?
Paver sealer typically lasts between three to five years after the first application.
2. Should I Apply Polymeric Sand First Before Sealing My Pavers?
Yes, you should apply polymeric sand first before sealing.
Carefully sweep the sand in between the joints, making sure there is no sand left on the surface, then let it dry for 24 hours.
Important note: Once the sealer is applied, it will trap anything that is left on the surface of the pavers. Make sure the surface is clean and dry before sealing.
3. How Long Should I Wait Before Sealing Brand New Pavers?
Wait 60 to 90 days before sealing your new pavers, after they’re installed.
If you seal your pavers right away, moisture will become trapped in the concrete, possibly causing efflorescence.
4. How Often Do I Need to Reseal My Concrete Pavers?
In most cases, you’ll need to reseal your pavers every three to five years to keep them in optimal condition.
However, the frequency of resealing your pavers will still depend on several factors. For example, if foot or vehicular traffic is taking a toll on your pavers, you might need to reseal them more frequently.
5. What Are the Ideal Weather Conditions for Sealing Pavers?
Typically, the ideal weather for sealing pavers is dry and relatively cool (between 50°F and 90°F), with low humidity and no rain expected for at least the next 24 hours.
6. Should I Seal My Driveway?
Yes, sealing your driveway is key in preventing the penetration of oil, gasoline, and other substances that can cause stains and damage. Sealing your driveway can also help in maintaining its appearance.
In conclusion, sealing your pavers is a proactive step towards preserving their longevity and enhancing their aesthetic appeal. Whether you’re opting for a DIY approach or seeking professional assistance, don’t hesitate to reach out to your Unilock Authorized Contractor for expert guidance and assistance in applying a sealer following your paver installation, ensuring your outdoor spaces remain beautiful and protected for years to come.
Related
Articles

We’re Here
To Help
Browse our Design Idea Catalog
Explore endless design possibilities through our Design Idea Catalog. Browse our extensive portfolio of paver and wall products, and get inspired by our outstanding design projects that will fuel your creative expression.

Visit an Outdoor Idea Center
Experience the beauty and quality of Unilock paver and wall products in a life-sized setting by visiting a local Outdoor Idea Center. Our knowledgeable and friendly staff are on hand to answer any questions and offer free product samples.