Unilock interlocking pavers are a favorite of Norfolk, VA, landscaping contractors, and with good reason. Unilock pavers provide unparalleled durability, color performance and versatility. By following the steps to properly prepare the base and correctly lay the pavers, you can ensure a successful installation and a beautiful and long-lasting final product for your clients.
Planning and Preparation
Careful planning and preparation are crucial to a successful paver installation. Before any work can begin, a final landscape design plan, approved by the client, should be in place. The plan should include the location of any utilities in the work area, such as buried cable and gas lines. Uvision 3D Landscape Creator Software from Unilock can help you prepare a design plan for almost any type of landscaping project.
Use string or marking paint to carefully mark construction guidelines on the ground. Edging any sod in the area with a shovel will make it easier to accurately strip the sod. Don’t forget to plan ahead for material delivery and site access. Not all homes are easily accessible by heavy machinery so you should have a plan in place to avoid any delays in the project.
Excavation
Accurate excavation will help ensure a solid and level surface for hardscaping construction. Heavy clay soils and sub-soils can hold water and increase the chance of frost heave, so they should be removed to a minimum depth of 6 inches. Once excavation is complete, use a ramming compactor to help clear any air pockets in the subsoil. This will help prevent future settling of the base.
Related Read: Concrete Pavers or Brick for Your Norwalk, CT, Backyard?
Preparing the Base
Precise marking of vertical units and fixed features, such as U-Cara Multi-Face walls and pillars, will ensure the end results match the original design plan. Poured concrete pads for features such as fireplaces and grill islands should be formed and installed before paver installation begins. Ensure that vertical features are square and parallel to help reduce the necessity for angled paver cuts.
A base of ¾-inch crushed gravel will offer the best drainage and load-bearing capacity. Use both a ramming compactor and a plate compactor to make the base as solid as possible.
Screeding the Bedding Course
A layer of bedding sand will provide drainage for the pavers and allow room for final compaction. Coarse concrete sand will provide the best drainage for your bedding course. Use ¾’ diameter metal pipes as screed guides and a straight 2×4 board to level the bedding sand. When placed on the bedding sand before compaction, pavers should sit 3/8” below the final finished level of the pavers.
Laying the Pavers
Good planning and preparation will make laying the pavers a smoother process. Stand pavers on edge prior to placing them to ensure edges don’t chip or scuff. Slide stone edges together before placing to avoid dragging stones on the bedding sand, which can result in uneven gaps.
If your project calls for multiple types of pavers, such as a Beacon Hill Smooth and Town Hall combination, start by laying the larger pavers first. Once the larger pavers are in place, it’s easier to lay the smaller ones.
Related Read: Top 4 Unilock Interlocking Pavers for Your Fairfield, CT, Outdoor Grilling Area
Edging the Area
When the edge of the paving field meets a soft surface, plastic or aluminum edge restraint is required to prevent lateral shifting. Use 10- or 12-inch metal spikes to secure the edging in place. Once the edging is secure, the area around the new pavers can be filled with soil and planted.
You can find more information on the above points, as well as step-by-step video instructions, by visiting our online Learning Center.
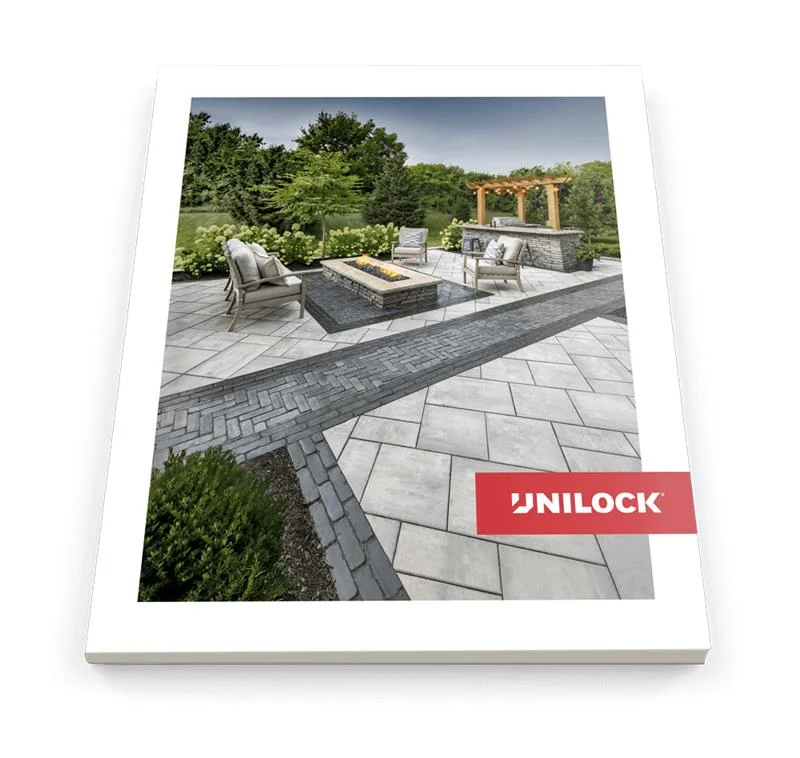
The title image features a Beacon Hill Smooth patio with a Town Hall border and U-Cara Multi-Face verticals.


