
Learn and Plan
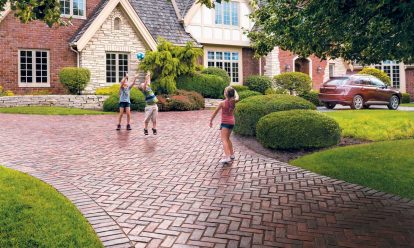
Turn your dreams into a reality
Why Choose Unilock
Learn moreHow to Choose a Contractor
Even the best materials can be spoiled by poor installation and workmanship. Choosing the right installer for your projects is the most important decision of all.
Learn more


Knowledge Center
Our Knowledge Center contains hundreds of articles on a wide variety of topics designed to help you throughout your project journey. Browse by topic or use the search function to find what you're looking for.


We’re Here
To Help

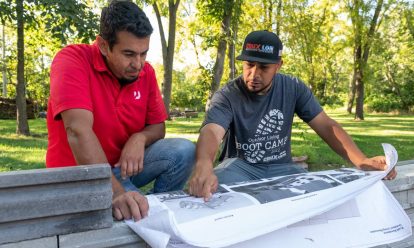
Find a Contractor you can trust
Working with a Unilock Authorized Contractor is working with the best of the best. Our UACs possess the knowledge and expertise to bring your dream project to life, and deliver stunning results that will exceed your expectations.

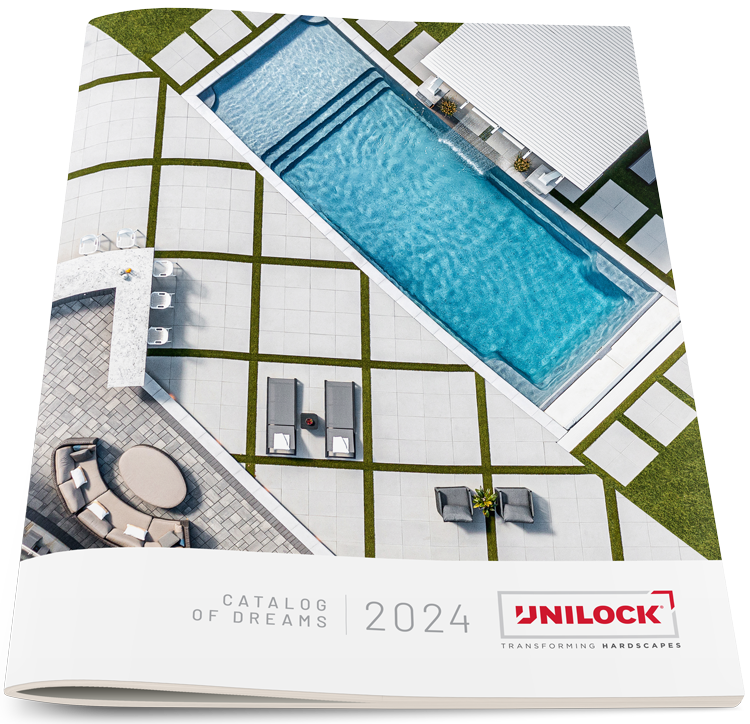
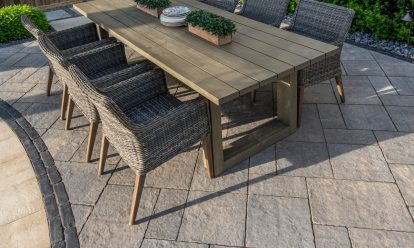
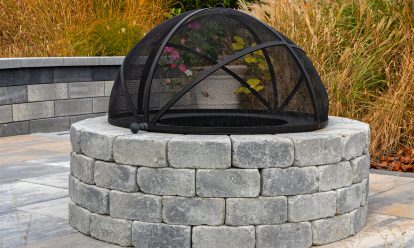
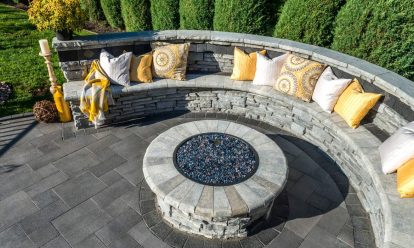
Browse our Design Idea Catalog
Explore endless design possibilities through our Design Idea Catalog. Browse our extensive portfolio of paver and wall products, and get inspired by our outstanding design projects that will fuel your creative expression.

Visit an Outdoor Idea Center
Experience the beauty and quality of Unilock paver and wall products in a life-sized setting by visiting a local Outdoor Idea Center. Our knowledgeable and friendly staff are on hand to answer any questions and offer free product samples.